Home About What I Wore Contact Image Map
Showing posts with label a peek in my room. Show all posts

Thursday, February 28, 2013

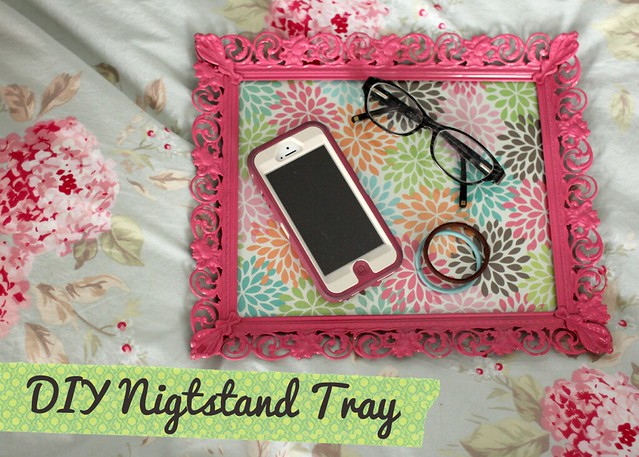
DIY Vintage Inspired Nightstand Tray

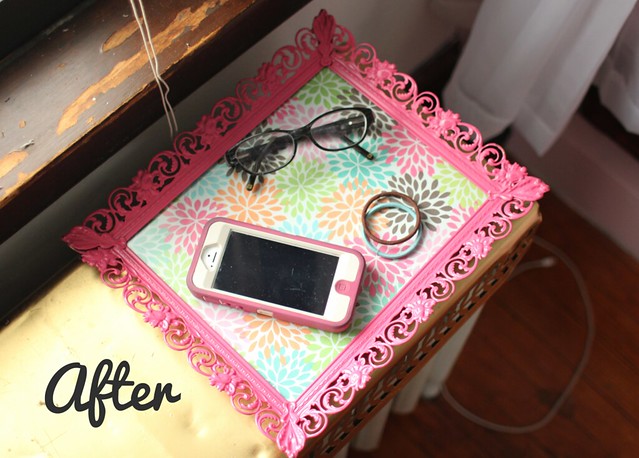
Because my room is so tiny and my bed is right up next to the radiator, I don't really have any room for a bedside table. It's not much of an inconvenience, since I can set my glasses, etc. on the radiator, but to keep my room from looking cluttered I decided to make a small tray to keep it all on at night.

My inspiration was the vanity trays that used to be so popular, but I wanted a more modern feel since I want to make sure my room stays updated looking despite all the florals/general vintage feel. I'm really pleased with the result, and the best part is that the whole project cost me less than $10!
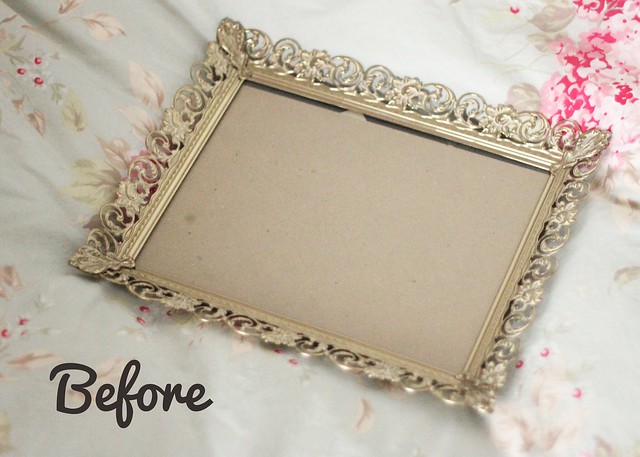
Needed:
*frame
spray paint
scrap-booking paper 

I think this project is pretty self-explanatory, but for the sake of argument (and a well formatted post!) I'm going to explain what I did anyway:

1) Take the glass + cardboard out of your frame and spray paint it your desired color. Mine took about two coats, and I painted the front and back since you can see the underside of mine when it's sitting out.
2) While the paint is drying use the glass/piece of cardboard from the back to cut your scrap booking paper the correct size.
3) After the paint is fully dry (I let mine sit a full 24 hours just to be certain), resemble the frame with the scrap-booking paper where the picture would normally be. 

And ta-dah! You've got your very own vintage inspired nightstand tray! Guarenteed to keep all your odds and ends safe at night while you slumber away in dream land. ♥

*(thrift stores are great places to pick up nice frames cheap)

If you try out this project I'd love to see a photo of it! You can email me, shoot me a tweet, or tag me in your photo on Instagram! Happy DIYing!

xo,

Katie


Wednesday, February 20, 2013

My Newly Redecorated Room


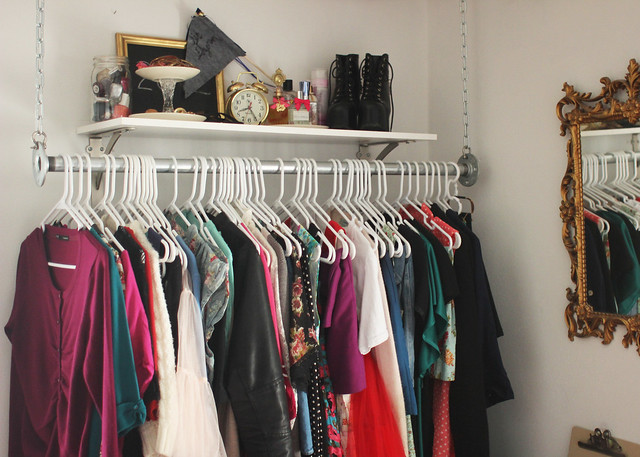
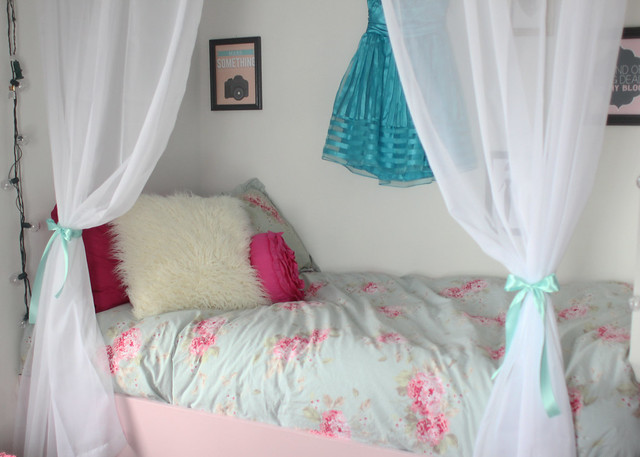
One of my nineteen before twenty goals is to get my room fully decorated. Until recently I had no idea what I wanted it to look like, but since I finally had an idea, I wanted to get it done and have a place that I could chill out and relax and be comfortable.

So when I got back from my trip I set to work and I have almost all of it done! I still need a rug and to tough up a few paint jobs, but I'm so happy with it so far! Here are a few pics of it + my room tour video! You can see the rest of the photos here (along with some photos of the different styles I've tried over the years) if you're interested.

And a big thank you to Kaelah Bee for the closet idea! It's been a huge life-saver what with my miniscule closet and all! ♥

xo,

Katie Burry

Thursday, November 15, 2012

DIY Jewelery Holder Dos and Don'ts

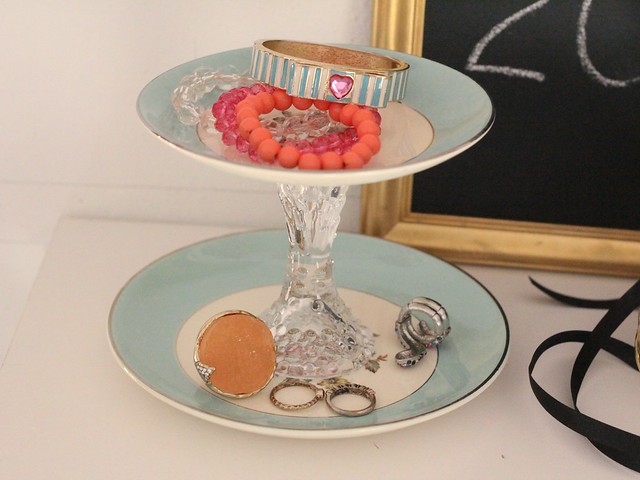
I'm not going to have this be an actual DIY post, because - let's face it - this DIY is all over the internet/interest. What I am going to do is give you a little run down on how I attempted this project, and what I learned from it:

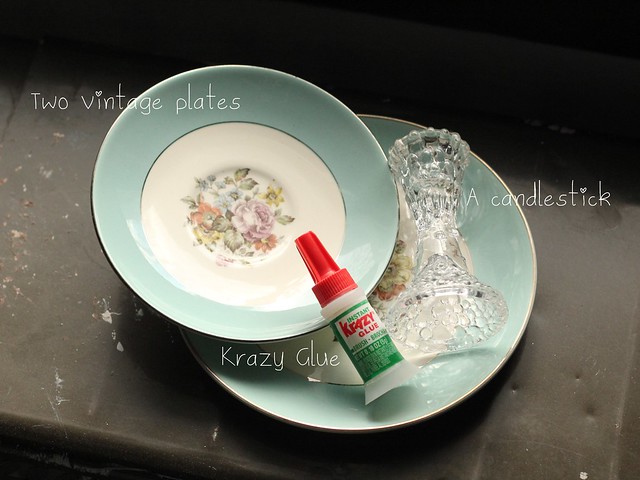
DO check your local thrift store for pretty dishes + candle holders: I found both of these plates and the candle holder at one of my favorite thrift stores. The plates were six dollars for around two dozen, and the candle holder was a buck. On my next thrifting trip I ended up coming back with so many dishes for future projects!

DON'T invest in any fancy supplies: When I looked up what kind of glue most people used for this project I found a lot of different opinions. Since we had Krazy Glue in the house and I was lazy, I decided to try that and it worked just fine! No need to invest in anything fancy.

DO let your project sit with a heavy-ish weight on it for a couple hours: I let it dry just a few minutes the first time, and the top plate came off a a couple hours later (*le gasp!*). So I re-glued it and put a couple heavy-ish bowls (I didn't want it too be too heavy and risk breaking the dishes) on it for several hours, and I haven't had a single problem with it since!

DON'T let the idea of doing a DIY freak you out: I know some of you out there don't think you're patient/creative enough to do DIYs, but don't let that psych you out! This is probably the easiest, and most fool-proof DIY I've ever done. I didn't even measure to find the center of the dishes. Seriously, you can't mess this up!

DO use this to organize all your gorgeous jewelery: I love having somewhere to stash all my rings so they stay all in once place instead of spread out all over my room!

DO get creative and have fun! On my last thrifting trip I got two larger dishes and made a cupcake stand - so cute! I should Instagram a picture later so you all can see.

Have any of you tried this project before? Comment and tell me your tips/tricks! (Bonus points if you have pictures to show me what lovely things you came up with! xo)

Tuesday, November 29, 2011

Hanging Dress // A Peek into My Room

I got the idea to hang a dress up on the wall from Kate Gabrielle. Originally I was going to hang up my blue floral dress, but then I got this one, and it was just too pretty not to display - plus I wear my blue floral dress way too much to hang up on the wall. 

I think it turned out really well! What do you think? Does it work?

P.S. Next week I'm going to start posting about all the stuff I have on my dresser!

Tuesday, November 8, 2011

Teacup Jewelry Dish // A Peek into my Room


I got this tea cup on one of my thrifting excursions earlier this year, but, since I wasn't sure what to do with it, it ended up sitting on my desk. Then on the first day of school my parents gave me a multi-stranded bracelet to celebrate my last year, and voila! A handy jewelry dish was born! And I quite like the effect. 

So what do you think? Win or fail? Can you think of way to make this even better? Comment and tell me your thoughts!

Tuesday, November 1, 2011

Vintage Mirror Jewelry Holder // A Peek into my Room


This mirror used to hang near the front door of my great, great grand aunt's house. This summer, however, we had to move her into an assisted living apartment, and most of her stuff wouldn't fit into the smaller apartment, so I got this lovely gold mirror to replace my old, ugly black one.

I don't wear a whole lot of jewelery, but I love necklaces. I started hanging them on the mirror I had before, and decided to continue it with this mirror since I think it looks so lovely. ♥

What do you think? Do you like my makeshift jewelery holder? How do you store your jewelry? I'd love to hear about it!


Tuesday, October 4, 2011

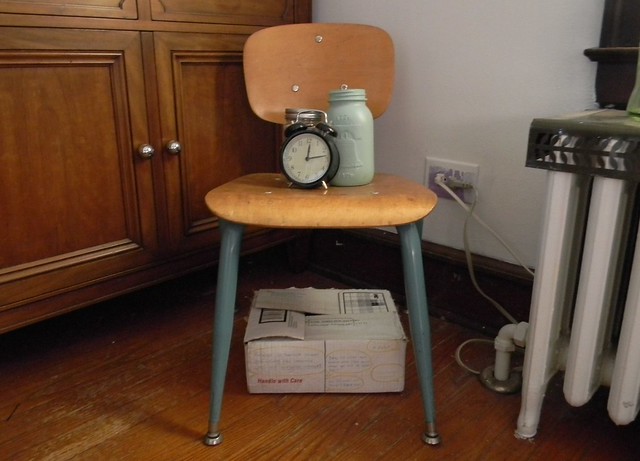
Vintage School Chair // A Peek into My Room


My cousin, Molly and I started a tradition of going to every thrift store within ten miles of her house every time I come to visit. Last time we did I scored this awesome vintage school chair for $2! My other cousin, Anna, got one too, and even did some research on the manufacturer. She found out that the company was sold in 1957, so it's at least 54 years old! By far one of my best finds ever!

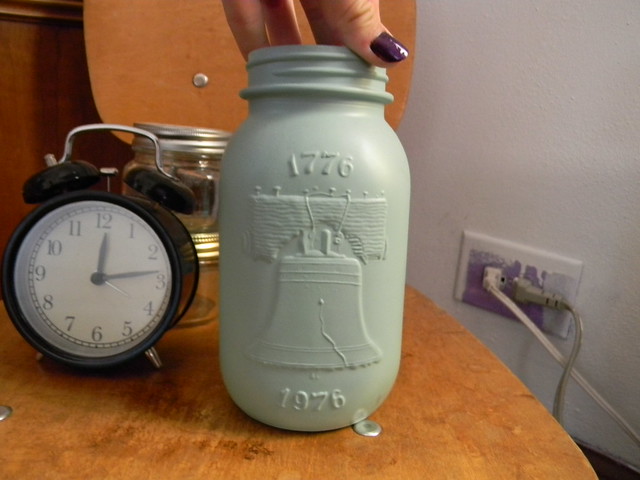
The clock on top of it is from Ikea, and all the jars are thrifted, too. The blue jar is from the bi-centenial, so I spray painted it to make the details on it more noticeable. Thanks to Wish Upon This for pointing me towards the tutorial.

Tuesday, August 30, 2011

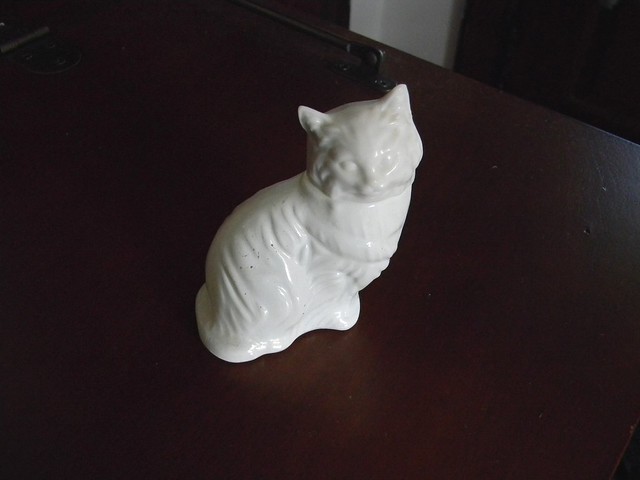
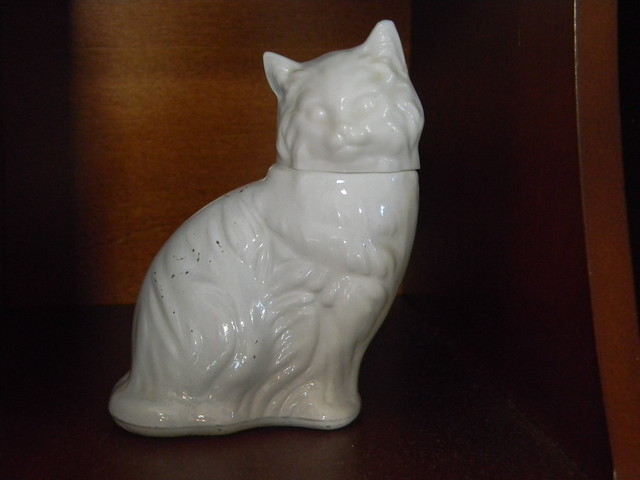
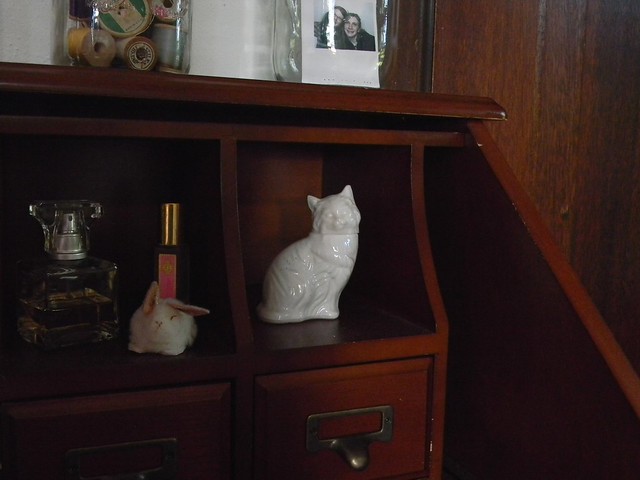
A Peek into my Room: Vintage Kitty Cat Perfume Bottle


I saw this vintage, 1970's kitty cat perfume bottle at the thrift store a few weeks ago. I didn't get it the first time I saw it, or the second time, but then I decided that I just had to get it, so I made my mom drive me back and I snatched it up before anyone else could get it. I think it's a pretty awesome find! Especially for only $2.50! And I mean, come on, doesn't it look great sitting on my desk??


Tuesday, August 23, 2011

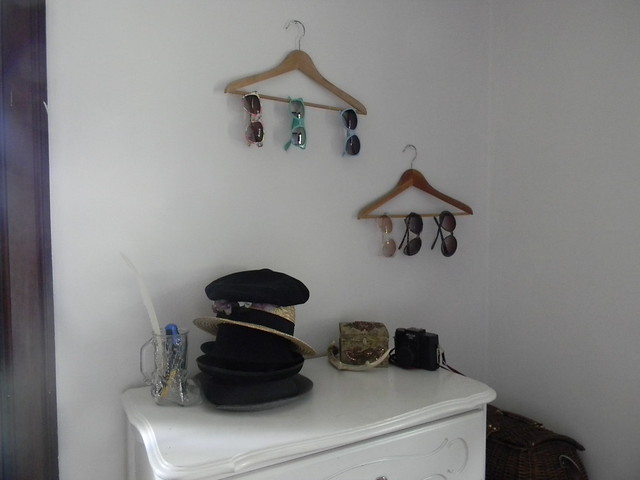
A Peek into my Room: Sunglass Hangers

{sunglasses, from top left to right: Xhilaration, Xhilaration, Delia*s, Forever 21, Rue 21, ModCloth}

I needed a way to show off my sunglasses collection. Originally I wanted to hang them on a pretty ribbon, but then I saw this idea, and it seemed much easier to execute, so I went with it instead.

And do you know what's funny? I've only bought myself two pairs of sunglasses! The blue polka-dot ones were from my little sister, and all the ones on the bottom hanger are from my big sister - including my favorite, Jackie-Oval sunglasses (far left) from ModCloth!

Tuesday, August 16, 2011

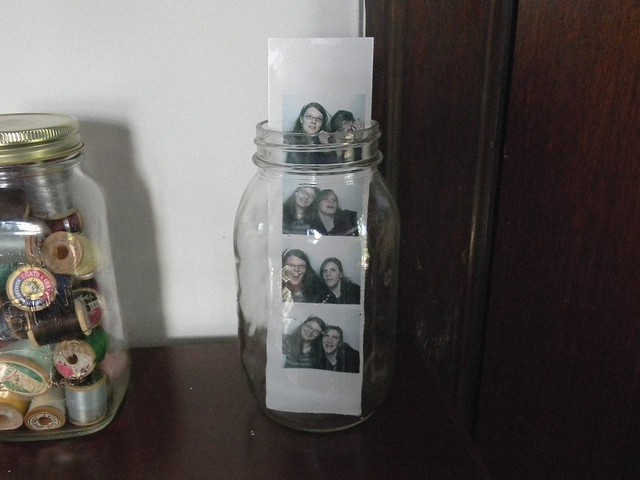
A Peek into my Room: Picture Jar

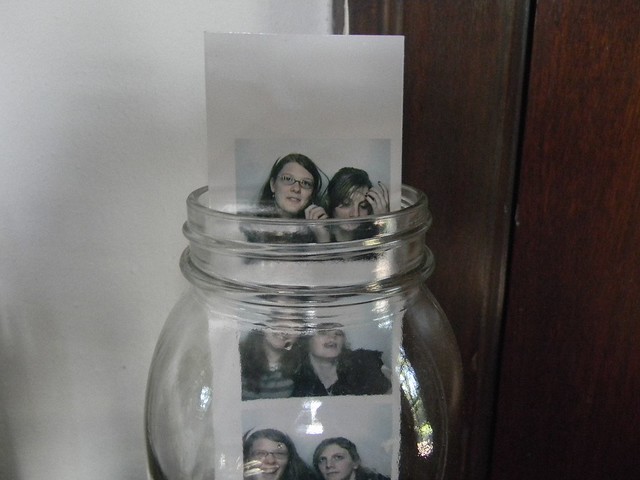
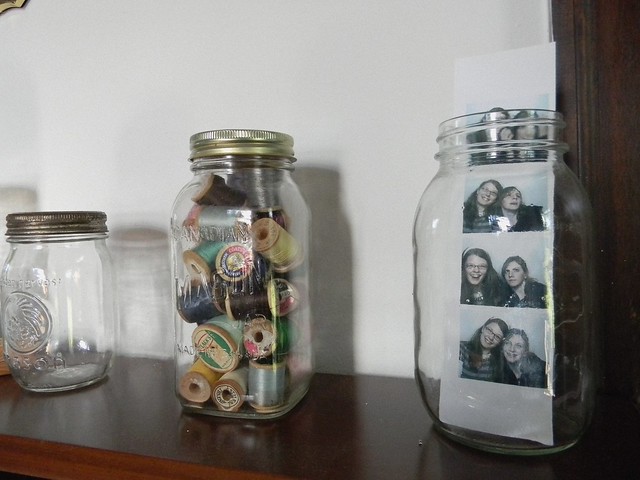
When I was setting up new desk I realized that I had a couple empty ball jars and a strip of pictures from a picture booth I'd done with a friend years ago that I did not have plans for. Struck with an idea I stuck the pictures in the jar - temporally. But the idea grew on me and so at long last the jar has a purpose and the pictures have a home.

What do you think? What do you girls (guys?) do with empty jars? I'd love to hear about all your great ideas!


Thursday, August 11, 2011

A Peek into my Room: Colardo Box

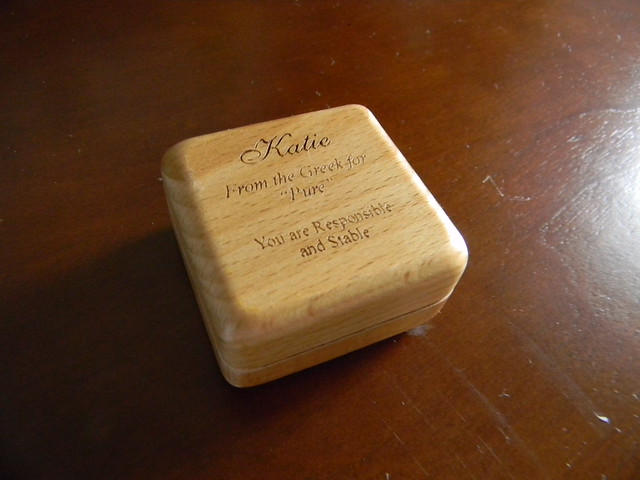
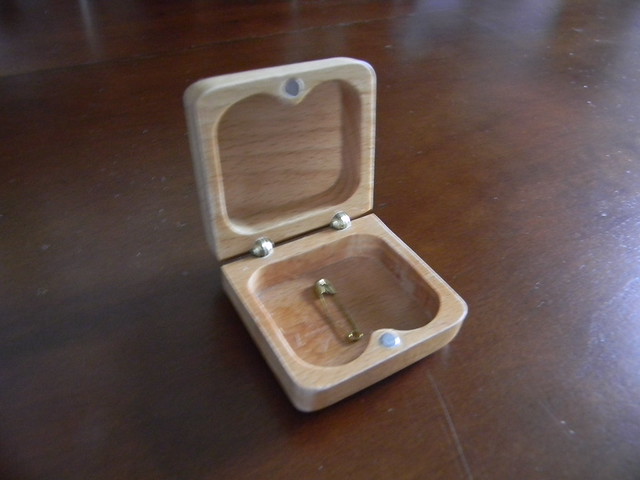
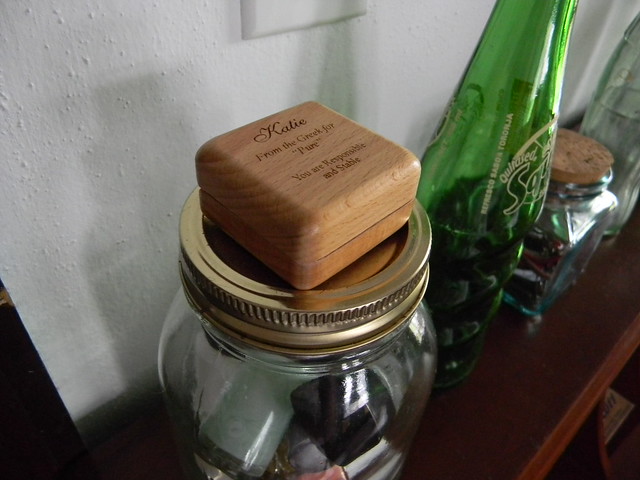
I love this little box. My friend Ryan bought it for me and a matching one (but with her name on it) for his sister, when I visited them in Wyoming earlier this year. It's the perfect size for safety pins (which I never seem to have enough of), and it's so much nicer to keep my safety pins in than scattered about the bottom of my top dresser drawer. It's become a permanent feature of my room. ♥

Thursday, August 4, 2011

A Peek into my Room: Nail Polish Jar

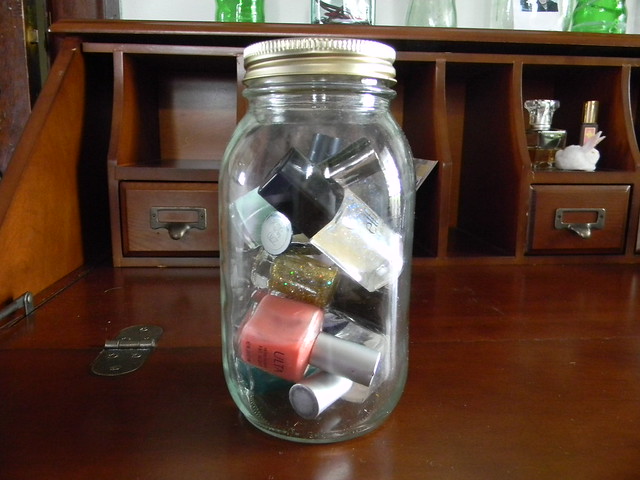
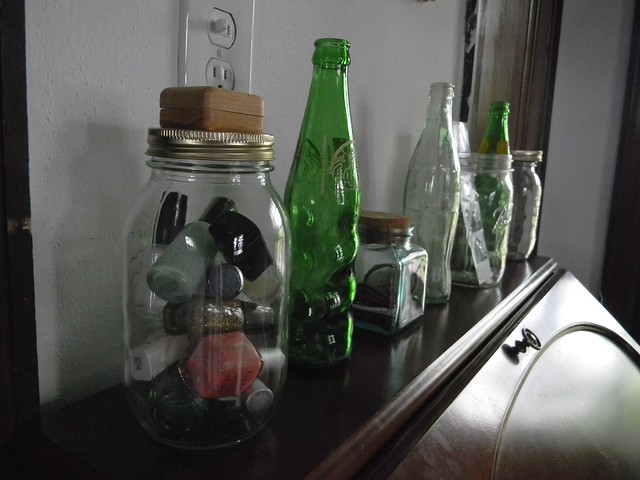
I recently got this jar from a thrift store for $.50. I wasn't sure what to put in it at first, but I needed somewhere to keep my nail polish, and I thought it might do for that. I really love the way it looks. ♥

I am, however, wondering if I should label it somehow. I thought it might look cool if it said "Nail Polish" somewhere on the jar, I'm just not sure how to do it. Should I just tape a piece of paper on it, or should I paint the top with chalkboard paint? Or something else? I'm open to any and all suggestions.