Home About What I Wore Contact Image Map
Showing posts with label projects. Show all posts

Thursday, February 28, 2013

DIY Vintage Inspired Nightstand Tray

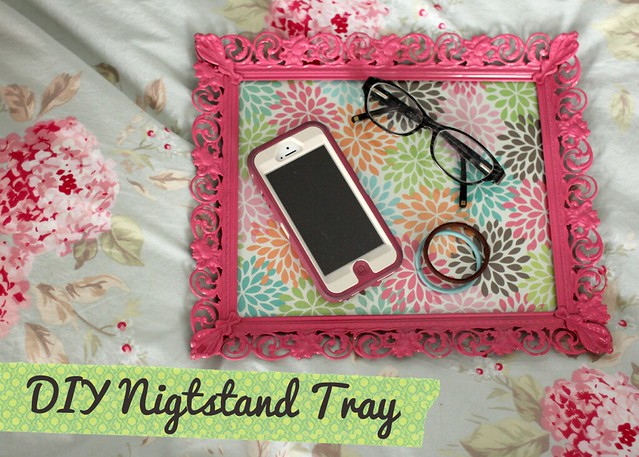
Because my room is so tiny and my bed is right up next to the radiator, I don't really have any room for a bedside table. It's not much of an inconvenience, since I can set my glasses, etc. on the radiator, but to keep my room from looking cluttered I decided to make a small tray to keep it all on at night.

My inspiration was the vanity trays that used to be so popular, but I wanted a more modern feel since I want to make sure my room stays updated looking despite all the florals/general vintage feel. I'm really pleased with the result, and the best part is that the whole project cost me less than $10!
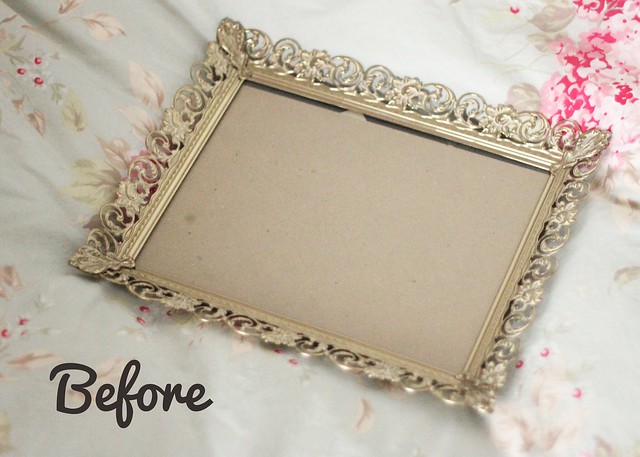
Needed:
*frame
spray paint
scrap-booking paper 

I think this project is pretty self-explanatory, but for the sake of argument (and a well formatted post!) I'm going to explain what I did anyway:

1) Take the glass + cardboard out of your frame and spray paint it your desired color. Mine took about two coats, and I painted the front and back since you can see the underside of mine when it's sitting out.
2) While the paint is drying use the glass/piece of cardboard from the back to cut your scrap booking paper the correct size.
3) After the paint is fully dry (I let mine sit a full 24 hours just to be certain), resemble the frame with the scrap-booking paper where the picture would normally be. 

And ta-dah! You've got your very own vintage inspired nightstand tray! Guarenteed to keep all your odds and ends safe at night while you slumber away in dream land. ♥

*(thrift stores are great places to pick up nice frames cheap)
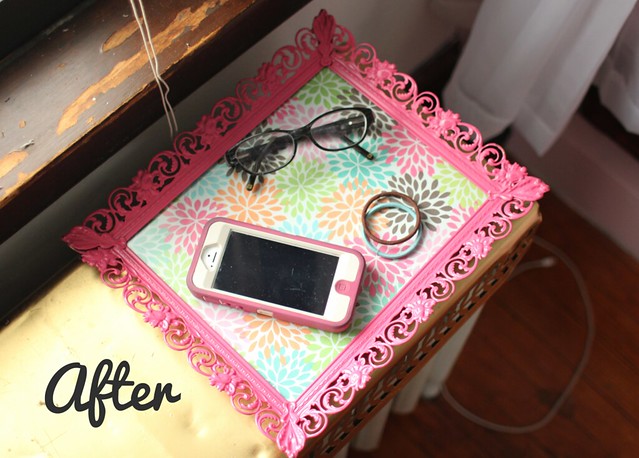

If you try out this project I'd love to see a photo of it! You can email me, shoot me a tweet, or tag me in your photo on Instagram! Happy DIYing!

xo,

Katie


Thursday, November 15, 2012

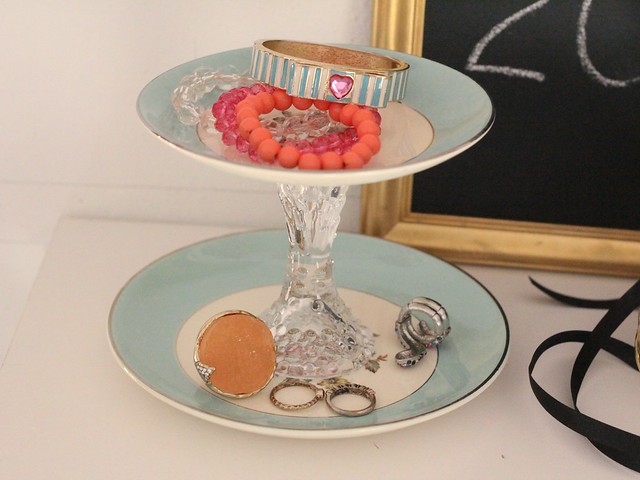
DIY Jewelery Holder Dos and Don'ts

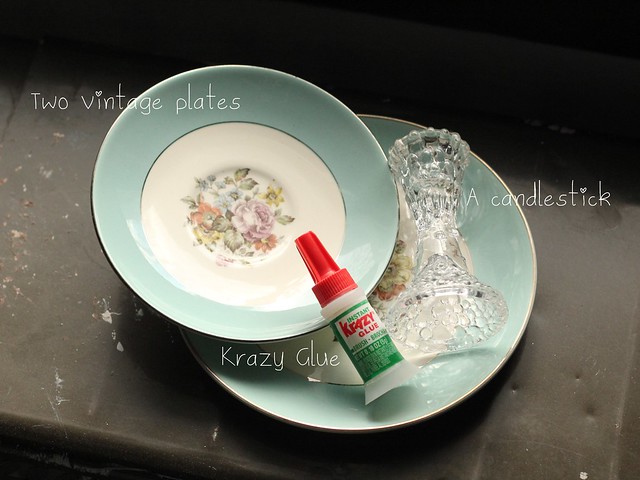
I'm not going to have this be an actual DIY post, because - let's face it - this DIY is all over the internet/interest. What I am going to do is give you a little run down on how I attempted this project, and what I learned from it:

DO check your local thrift store for pretty dishes + candle holders: I found both of these plates and the candle holder at one of my favorite thrift stores. The plates were six dollars for around two dozen, and the candle holder was a buck. On my next thrifting trip I ended up coming back with so many dishes for future projects!

DON'T invest in any fancy supplies: When I looked up what kind of glue most people used for this project I found a lot of different opinions. Since we had Krazy Glue in the house and I was lazy, I decided to try that and it worked just fine! No need to invest in anything fancy.

DO let your project sit with a heavy-ish weight on it for a couple hours: I let it dry just a few minutes the first time, and the top plate came off a a couple hours later (*le gasp!*). So I re-glued it and put a couple heavy-ish bowls (I didn't want it too be too heavy and risk breaking the dishes) on it for several hours, and I haven't had a single problem with it since!

DON'T let the idea of doing a DIY freak you out: I know some of you out there don't think you're patient/creative enough to do DIYs, but don't let that psych you out! This is probably the easiest, and most fool-proof DIY I've ever done. I didn't even measure to find the center of the dishes. Seriously, you can't mess this up!

DO use this to organize all your gorgeous jewelery: I love having somewhere to stash all my rings so they stay all in once place instead of spread out all over my room!

DO get creative and have fun! On my last thrifting trip I got two larger dishes and made a cupcake stand - so cute! I should Instagram a picture later so you all can see.

Have any of you tried this project before? Comment and tell me your tips/tricks! (Bonus points if you have pictures to show me what lovely things you came up with! xo)

Tuesday, March 15, 2011

I'm Just Beautiful Me

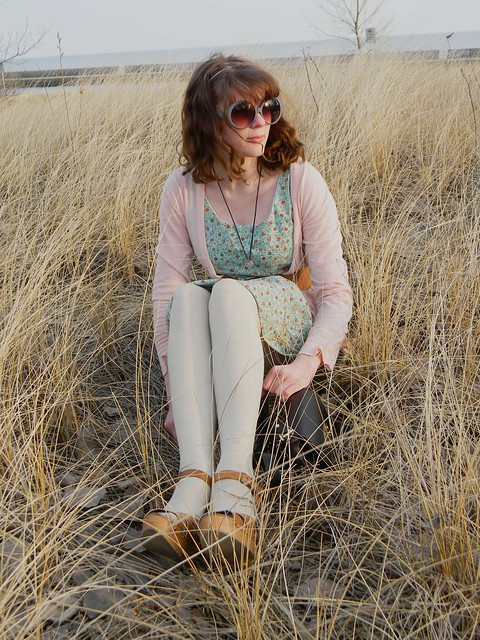
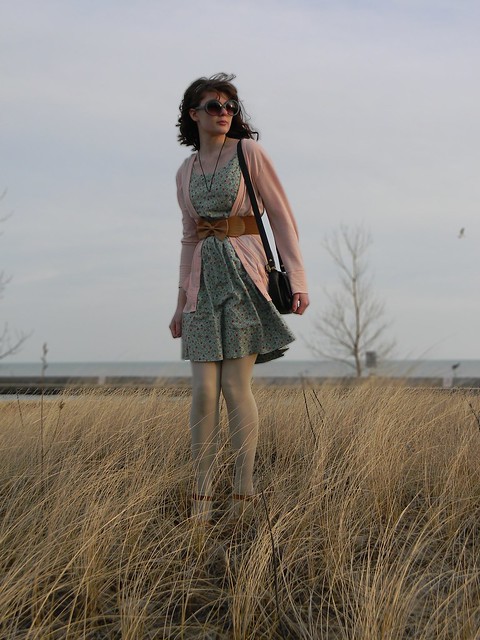
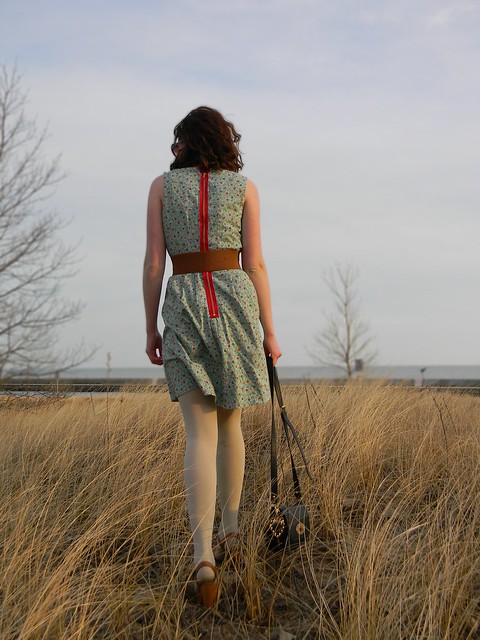
katie dahl beautifully pure beach homemade dress chic vintage red exposed zipper modest fashion personal style blogkatie dahl beautifully pure beach homemade dress chic vintage red exposed zipper modest fashion personal style blogkatie dahl beautifully pure beach homemade dress chic vintage red exposed zipper modest fashion personal style blogSo, Saturday morning I finished my dress - just in time to wear this outfit to my little sisters recital. Of course, we didn't have time to get pictures for my blog, so I was forced to re-create the outfit yesterday for all of you - not that I minded.

katie dahl beautifully pure beach homemade dress chic vintage red exposed zipper modest fashion personal style blogkatie dahl beautifully pure beach homemade dress chic vintage red exposed zipper modest fashion personal style blogI went with an exposed zipper in the back because a) I love that it brings out the red flowers in the dress, and b) it looked a lot easier than a hidden zipper. And I think it was, once I got the hang of it. Which I had after the third time. That time it went on almost without any problems. And yes, I did had to put it on three times. Now I know why everyone told me zippers are a pain. They look so easy! The good news is that, like I said, I think I have the hang of exposed zippers. So, trend or no trend, I will be doing them for the rest of my life - just so you know.

katie dahl beautifully pure beach homemade dress chic vintage red exposed zipper modest fashion personal style blogI was so cold taking this picture. It felt so warm outside. I was hardly cold at all with just a light jacket and cardigan - and then I took them off. And froze. Some day it is going to be naturally warm - like *gasps* eighty degrees, and I am going to wear the exact outfit above only without the tights, and I am going to go to the beach in it and walk in the sand carrying my sandals, and then trek around in the long reeds with my Diana and/or Holga camera. Add my big sis into that equation and you have my idea of bliss. Someday...

katie dahl beautifully pure beach homemade dress chic vintage red exposed zipper modest fashion personal style blogOutfit Details:
Dress - Made by me
Cardigan - Old Navy
Denim Jacket - Thrifted
Tights - Merona
Sandals - Xhilaration
Purse - Mulberry for Target
Belt - Charlotte Russe
Sunglasses - ModCloth via gift from my big sister
Necklace - Black Market Minerals

Monday, September 13, 2010

My New Project

The good news about having so much free time after school is that it leaves me time for projects. Here is my new one:


And this:

(Before)


(After)

I've been wanting to do something with my room for years, but I really began to want something new earlier this year when my "I want everything to look like it came right out of a time machine from 100+ years ago!" phase came to a screeching halt. So this is really nice. :D I am totally in love with the purple color and I cannot wait to get more paint and finish the room! (We only bought a half a pint trial size first to see if I liked the color.)


And yes, I did have fun with my camera. :D